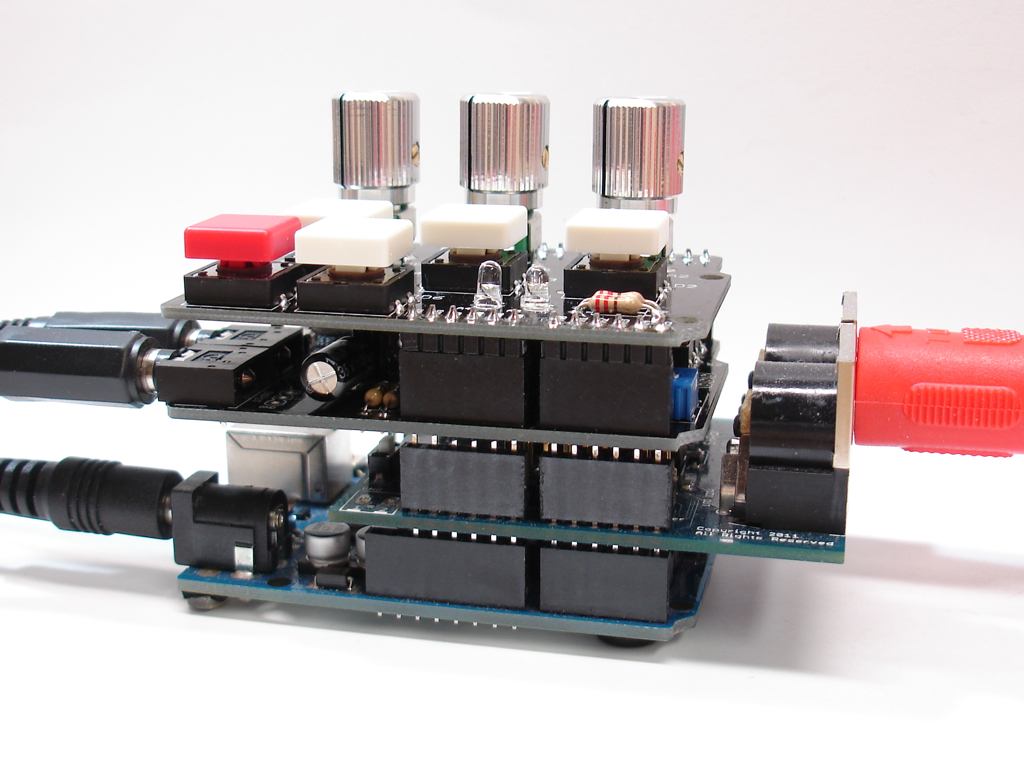
This project shows you how you can use your Arduino+Audio Hacker as a MIDI instrument. The Arduino MIDI library makes it easy to read the MIDI commands that arrive on the Arduino serial port. I used a Rugged Circuits Flexible MIDI Shield for this project because it is, well, flexible. It allows you to specify which pins are used. Other MIDI shields are not likely to be pin compatible with the Audio Hacker, so I don’t recommend anything but the Rugged Circuits shield for this project. The MIDI shield stacks nicely with the Audio Hacker. I didn’t use the DJ Shield in in this project but I wanted to show this huge stack!
An external device like a digital piano or drum machine is the MIDI controller that sends MIDI commands to the Audio Hacker. So a MIDI cable runs from the controller’s MIDI OUT to the MIDI shield’s MIDI IN connection.
You will need the Audio Hacker library and the Arduino MIDI library installed in your sketchbook libraries folder. Load the Audio Hacker example sketch File->Examples->Audio Hacker->Sampler_MIDI.
The Audio Hacker is used to sample audio input from a computer or MP3 player, or whatever by holding down the S1 button on the shield. This sample can be played back with the S2 button, just as with the normal Sampler_12bit example sketch.
But when a note is played on the MIDI controller (e.g. piano) a MIDI message is received by the Audio Hacker sketch and the sample is played at a speed proportional to the note played. For example if a middle C note on a digital piano is pressed, then a “noteOn” message with value “60” will be sent to the Arduino and the sample will be played normally. If you play a higher note, the playback speed will be faster, raising the pitch. A note below middle C will slow down the playback and play a lower note.
Here it is in action:

With the Flexible Midi Shield no longer available do you know if any alternatives are likely to work with the audio hacker?
I’m in the process of building an audio hacker based stand alone sample box that id love to include midi functionality, I’m specifically looking at things like the spark fun?
Cheers in advance
There is a Sparkfun MIDI shield: https://www.sparkfun.com/products/12898 . The schematic for the Sparkfun shield shows buttons and LEDs connected to pins that the Audio Hacker uses. I am pretty sure if you built the Sparkfun shield but left off the buttons and LEDs, it will work. You’d only be using the MIDI input on the serial line.