Difficulty Level = 6 [What’s this?]
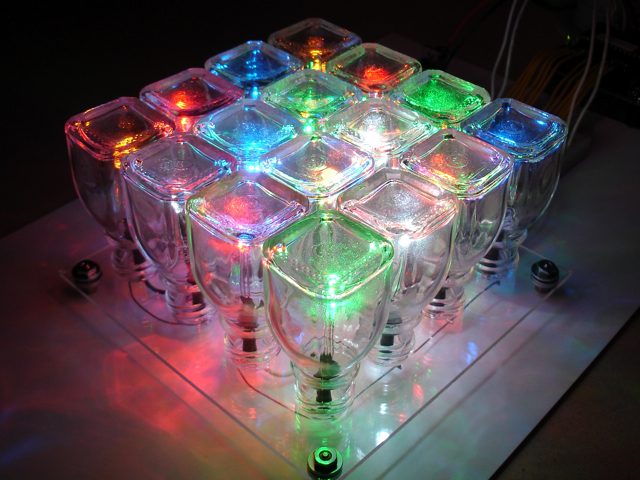
This is a mood lamp I build using 16 LEDs of different colors and small glass vials. The square bottoms of the vials look a lot like glass block, and the glass diffuses and scatters the light in beautiful ways. The software shows random patterns of light and the brightness of each LED can vary — they aren’t simply “on” or “off”.The Arduino code is pretty complex because it implements PWM (pulse-width modulation) for all 16 LEDs. The Arduino board only has 5 PWM-capable pins, so providing PWM for all 16 pins is accomplished purely in the code. The lamp randomly displays different lighting patterns and can be really mesmerizing. Ok, I know you want to see it in action, so here it is (note that the music is just in the background — the lights are not reacting to it):
Construction
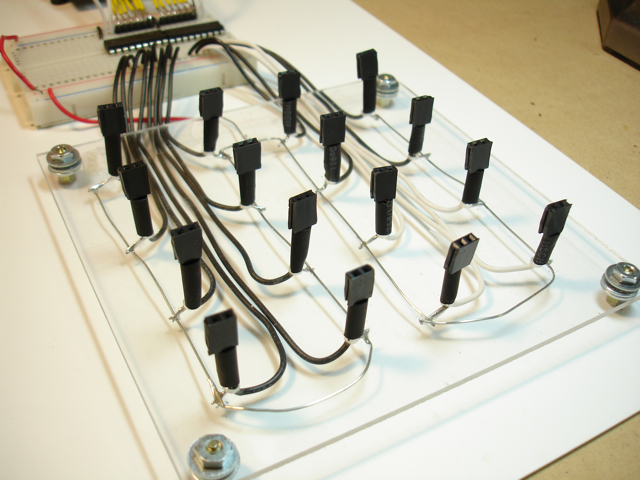
The base of the lamp is a piece of plexiglass about 5 inches square, and all of the wiring is on the underside of the plexi. Each of the 16 LEDs goes into a small socket made from two pins of a female header. I used sockets instead of soldering the LEDs directly so that I could rearrange the colors any way I like.
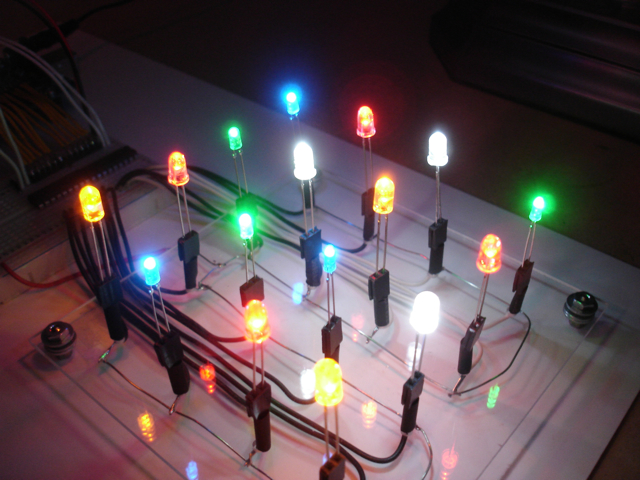
Each socket has a 150 ohm resistor soldered in-line so that I could avoid cluttering my breadboard with all those resistors. The resistor and wires at the base of the socket are covered with a small piece of shrink-wrap tubing to keep it looking clean. After inserting the LEDs, we have a nice forest of pretty lights!
I got these nice little glass vials at my favorite place for inspiration and great parts: Ax-Man Surplus. Take my word for it — Ax-Man is a maker’s and hacker’s paradise.
The Circuit
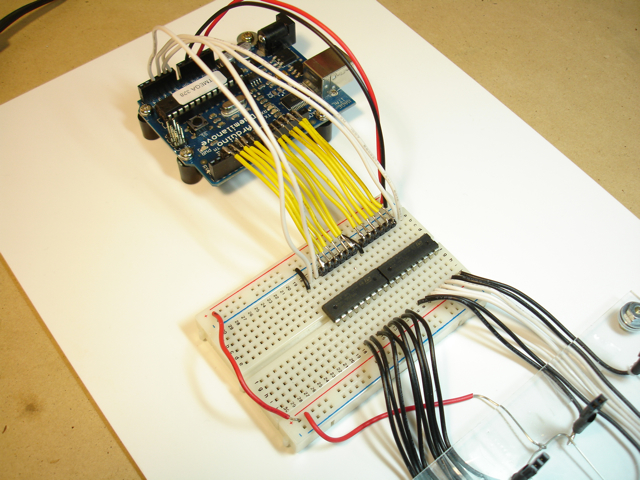
There’s not much to the circuitry of this lamp. I used two ULN2803A darlington transistor arrays to sink current for the LEDs so that I didn’t burn out the Arduino board by pulling too much current through the pins.
The Code
The software running on the Arduino board is where the real magic happens. If you are an experienced programmer, please look at the full source code. Like I mentioned before, all 16 LEDs are controlled with software PWM. This means the LEDs fade in and out smoothly; they don’t simply blink on and off. If you hope to understand the code, you’ll need to really understand PWM by reading about it. My code implements a 256 step “duty cycle” implemented in the function dutyCycle(). Any LED that is not completely off will be turned on at the beginning of the duty cycle. If the LED is to be at full brightness, it is never turned off in the 256 step loop. But if the LED is to be turned on only half the time (thus making it quite a bit dimmer), it is turned off at step 128. At the end of the 256 step duty cycle, all the LEDs have been on for some portion of the 256 steps. The sooner it was turned off during the cycle, the dimmer it will appear as the duty cycle is repeated over and over in quick succession. Look at the code.
The different lighting patterns are called “visualizations”. For example, the visualization “blinkRandom” is the one where random LEDs are turned on and then fade out (rather quickly). The visualization “throb” is where each LED pulses on and off slowly at different speeds. The change in a single LED’s brightness is determined by a mathematical function that changes over time. There are 3 math functions available for changing LED brightness over time: linear, sinewave, and exponential. Each LED has a variable “dx” that specifies how fast the LED moves along that function’s x axis. For example, for the function ‘linear’ and x=128, then y=128. A y value of 128 means the LED will be on for 128 steps of the 256 step duty cycle (half brightness). The sine function causes an LED to brighten and dim along a sine wave pattern, and the exponential function is useful for turning on an LED brightly then quickly dimming it with a “long tail”.
I’m not going to explain all the details of the code because it would take many pages (!). You’ll need to understand some more advanced topics like function pointers. Please just have a look for yourself and try to learn from it. Look at the comments in the code, especially the dutyCycle() function. Study the blinkRandom() visualization first because it is simple. I hope you learn something!


Cool! I was searching for something much simpler… Inline potentiometer for each of RGB with a 3.6v battery pack. Just wanted to see if that very simple idea was on the internet and found out that things are much more efficient (and enjoyable) with PWM and microchips. Didn’t find a single verification of the variable resistor switch (even under “images”)!
I looked at the source code and it looks very much more complicated than html…
Thanks for sharing!
What a brilliant piece of code. I’m working on a robot and this code will work nicely for his “brain”. :)